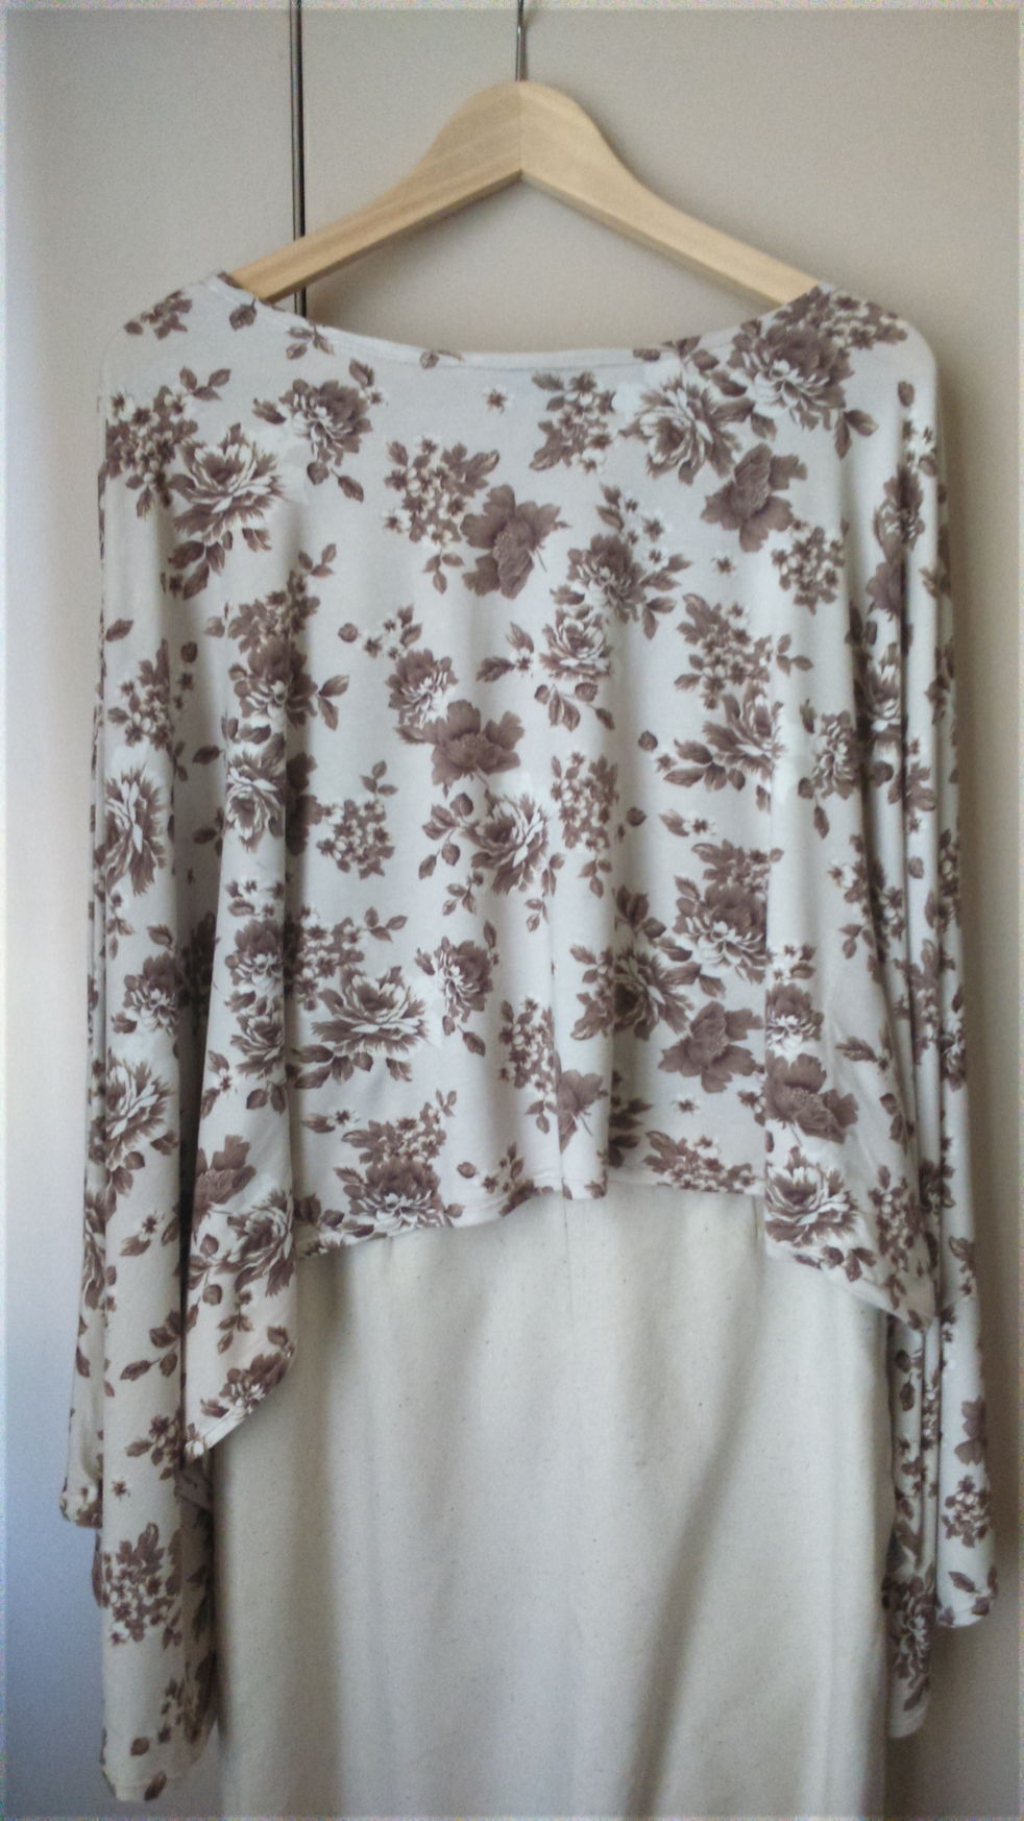
I’ve been comparing freehand pattern drafting (drafting directly on to fabric) and standard drafting of paper pattern pieces lately. I wore an outfit to a friend’s wedding recently that I made by using both methods.
Some time ago I made a pattern for a skirt block. This was a straight, knee length skirt which can be used as a template for other styles. I made this using the standard pattern drafting method. It worked well, and I was happy with the fit. Somehow, though, I didn’t progress further and it languished amongst my fabric stash. Out it came recently, and seeing as the fabric had a nice feel and texture to it, I decided to finish it, line it and wear it.
Some time ago I’d heard about the freehand pattern drafting method (sometimes called freehand cutting) from watching Chinelo Bally on BBC Great British Sewing Bee. She was the runner up in 2014. She’d never learnt to sew from commercial sewing patterns but amazed everyone with her ability to design straight on to the fabric, a skill she’d learnt from her Nigerian grandmother.
She’s now produced a book, so as I was curious to find out about it, I bought a copy. This seemed an ideal time to try freehand cutting. Leafing through my newly acquired Freehand Fashion: Learn to sew the perfect wardrobe – no patterns required! I saw the top I wanted to make to go with it: a batwing jersey knit top.
This meant drafting straight on to the fabric using measurements from the bodice block described in the book. Having made all my measurements, I made up the bodice block with calico before making the batwing top. I have also since made flare and full flare skirt blocks using this technique.
Having got this far, I think the freehand sewing method, once you’re familiar with it, could prove to be quicker and bypasses some irksome tasks. Here are some comparisons of the two techniques:
Drafting and Cutting
Standard Pattern Drafting
Standard drafting on to paper involves drafting out separate back and front pieces for bodice or dress/skirt/trousers, then sleeves, collar and pockets etc if needed. After making a toile or test garment these are drafted up onto paper which are then pinned onto one long length of fabric along the fold or on the straight grain, in the same way as you would if using a commercial sewing pattern.
If you have many or large pattern pieces most people use either a long table or a reasonably long space on the floor. It takes some time to check the straight grain for each pattern piece against either the fabric fold or selvage. So, space and time are requirements to bear in mind.
Freehand Pattern Drafting Method
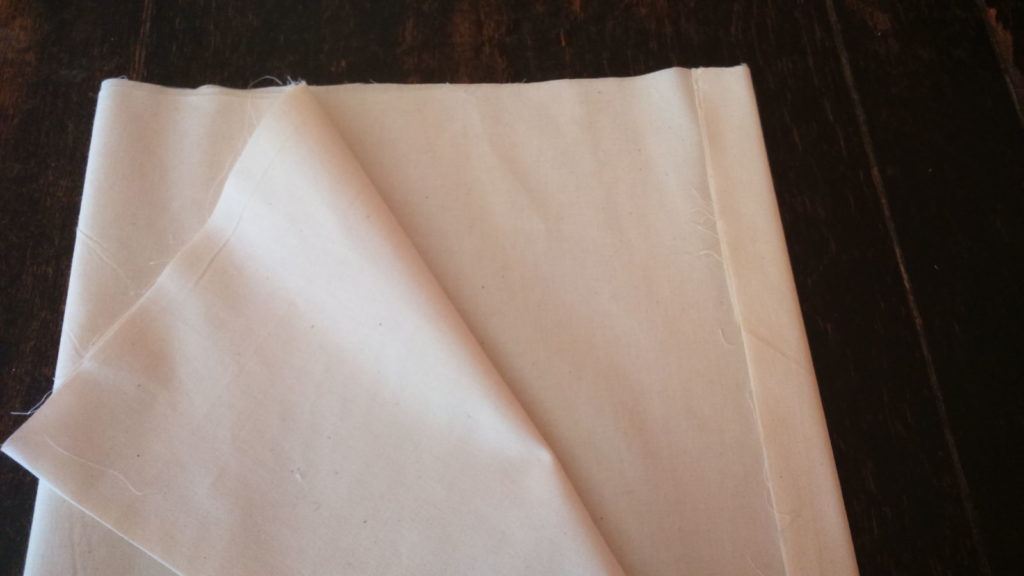
Using the freehand method, you need to find the straight grain of the fabric then, for most garments, fold into four. Fold the fabric for each part (say, the bodice) in half along the width, then in half again. So, if I fold from right to left, the fold overlies a cut edge on the left. You can leave enough fabric at the left hand cut edge to press a seam allowance under. Like so…..

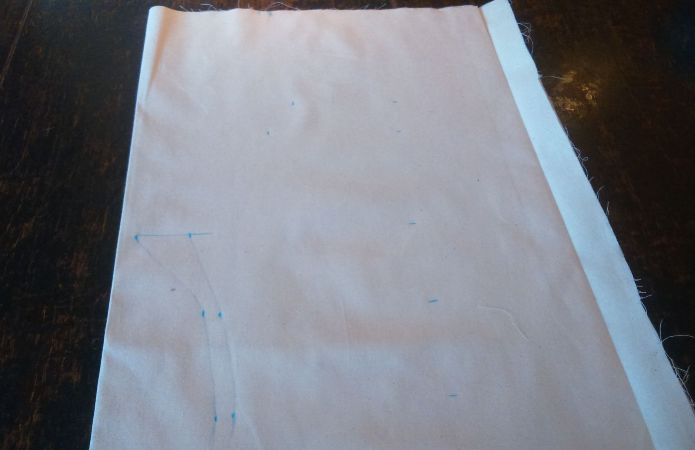
You can the mark measurements for the front and back together onto the twice-folded fabric. Start on the right-hand side at the folded edge overlying the cut edge (as on the image above). Some measurements for front and back are the same, and some diverge, making two outlines.
You usually cut the top two layers for the front, and the bottom two layers along the outline for the back. Hey presto – your three pattern pieces. A single front folds out, and you’re left with two back pieces with pressed in seam allowances. Clever, and it’s all in the folding.
I’ve flipped it round this time (cut edges uppermost) to make a jacket.

Making Multiple Garments From One Pattern
So, if you have paper patterns made using standard pattern drafting, and want to make multiple garments from the same pattern, simply pin the paper pieces on to new fabric and off you go. If you want to customise, trace the pattern pieces and make your alterations.
With freehand sewing you normally mark out measurements each time from scratch. But, there’s no pinning, no twisting paper pieces to lie on a straight grain, and it’s quicker to cut out. Simply write down your process (measurements with ease etc) to repeat another time.
An aspect of freehand sewing I like is that for each main part (bodice, skirt, sleeves etc) a piece of fabric is cut to a sufficient width and length. This is usually small enough to lay out on a table and mark up. No moving around a long length of fabric on the floor on my hands and knees. This is not my favourite task!
A disadvantage could be slightly less economy in fabric use, but maybe that’s a small price to pay. You can, though, reuse remnants that you have cut off for smaller pattern pieces, which will help to save fabric. Have you tried any of these methods? What do you think?
Update
Slow fashion, and sustainable fashion, is getting more attention on social media. If you’ve got the hang of freehand pattern drafting, you’ll probably gain a sense of self-reliance and freedom to achieve the wardrobe that you want. That’s a definite advantage when it comes to taking sustainable fashion into account.
Natural fabrics can be hard to find in High Street stores, but you, the makers, have the upper hand. Your new making talents might come to be an advantage if you start thinking about the the hardest clothes to find plastic-free. Sportswear, activewear and underwear are awash with synthetic, non-biodegradable fibres. Even everyday clothes are also a huge source of plastic microfibre pollution. You can make better fabric choices and match them to the style you want.
However, once you take a break from the sewing machine you can encounter sewist’s block when you return. Here I have some motivation tips. Simple ones seem to be the best.

