Are you looking round your house and feel it needs a complete overhaul? Or, have you found your ‘forever’ house, but, it needs a lot of work? You may think it’ll break the bank, but frugal and zero waste house renovation tactics might be the answer. Not only that, but these tend to be ways to keep your DIY and house improvement work on the ‘green’ side.
Our house renovation tactics are a mix of the frugal and more expensive. But, we like to feel that the frugal options save us some extra cash to splash out on some good quality; quality that is usually more expensive but also often more sustainable. For frugal, the best advice has to be seeking out the second-hand, salvaged or reclaimed. These options aren’t always cheap though. After all, reclamation yards are now very popular, but we’re normally aiming for the bargains or looking for longevity.
The Resource Footprint of House Renovation
A 2008 study by the UK Empty Homes Agency compared renovating with building new. The report, called New Tricks With Old Bricks found that the construction of a new house generated 50 tonnes of CO2, but the renovation of an existing house emitted only 15 tonnes. You might think that new homes would be more efficient than old properties, but, I gather, it can take decades to offset the footprint of producing and using new materials, The article states that the ‘carbon footprint’ of an old building is already locked into its structure.
I question, the concept of carbon footprint these days, mainly because of their tight focus on carbon dioxide – grinding life down to one element, and relating this to climate change, in Life Is Not All Carbon: Should We Ditch Carbon Footprint Calculators? All the same, the principle here is a good one, particularly if we think in terms of a wide resource footprint for buildings. There’s much you can do to be green with your renovations.
Our Renovations
A few years ago our home was a first floor flat in a converted turn-of-the-century terraced house. When we had the opportunity to buy the downstairs flat, we knew it was a doer-upper. No renovation work had been done since the late 1960s when the house had been converted into two flats. Our upstairs flat gave us hints that the house had seen some ‘cowboy builders’ at work when it was converted. We took the risk that this was the case but bought at a good price.
Sure enough, our suspicions were confirmed. But my husband, Andy, is not faint-hearted when it comes to DIY. He’d already learnt some of his craft from helping family with house renovations. With me, the willing builder’s assistant, we set about converting the two flats back into the house it used to be.
We completely gutted the 1960s and 70s fittings downstairs, filling several builder’s skips in the process.
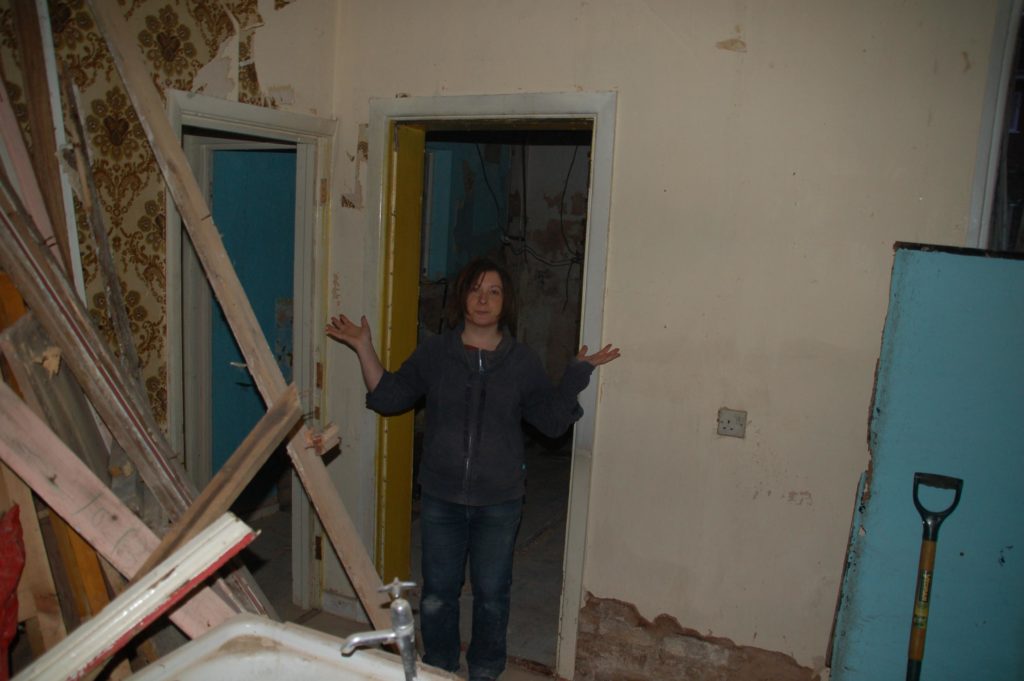
The downstairs came complete with classic brown flowery 1970s wallpaper and mock stone-cladding wallpaper over the fireplace in the back room.
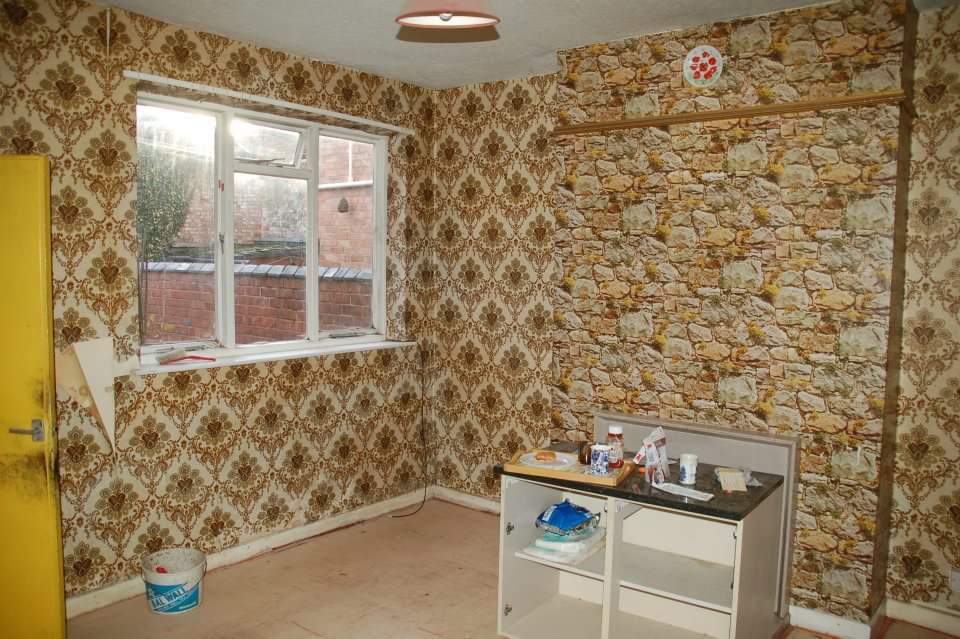
It all came out, and I’ve no idea whether those who are after the retro look would shreak in horror. However, we felt the fittings were not in the best state of repair, and we were aiming for something in keeping with the age of the house. Partition walls (part of the conversion to flats), with their door frames, also needed to come out to convert back to the original house layout.
When faced with a blank slate, but not a blank cheque book, what do you do? DIYing as much as possible is a good money saver but how much you can do this depends on your circumstances. If you have young children at home, this may limit your capacity to do everything. Whether or not you DIY, there are always these options:
Go Second Hand Sally
For frugal, think:
- Second-hand, vintage, flea market
- Salvaged or reclaimed
- Surplus to requirements
- Second-hand reproduction (repro)
There are many reasons why people sell fixtures and fittings. ‘For sale‘ need not imply poor quality, or not good enough. People change the style of their houses. Or, they may have moved into a house renovated with perfectly good materials that isn’t to their taste.
Frugal eBay kitchen
One area where you can really save a lot of money is on kitchens. Instead of ripping out a kitchen you don’t like, consider changing doors and handles. That’s the simplest option. Even doors and handles don’t have to be new: in fact the whole kitchen doesn’t have to be new.
We fitted our kitchen almost completely from eBay finds. It’s unlikely that you’ll find a complete second-hand kitchen to fit yours. Nevertheless, if the price is good you may find that even if only two-thirds is usable, it’s still worth buying. You can then sell on the remainder. We used partly second-hand kitchen units and fittings, with one or two new carcass units. The gaps we were left with, we plugged with hand-made doors that complimented the rest. It was relatively easy to do because the second-hand kitchen we bought had solid wood doors which we re-painted. We made up door fronts with a mock tongue-and-groove facing and painted these the same colour as the rest.
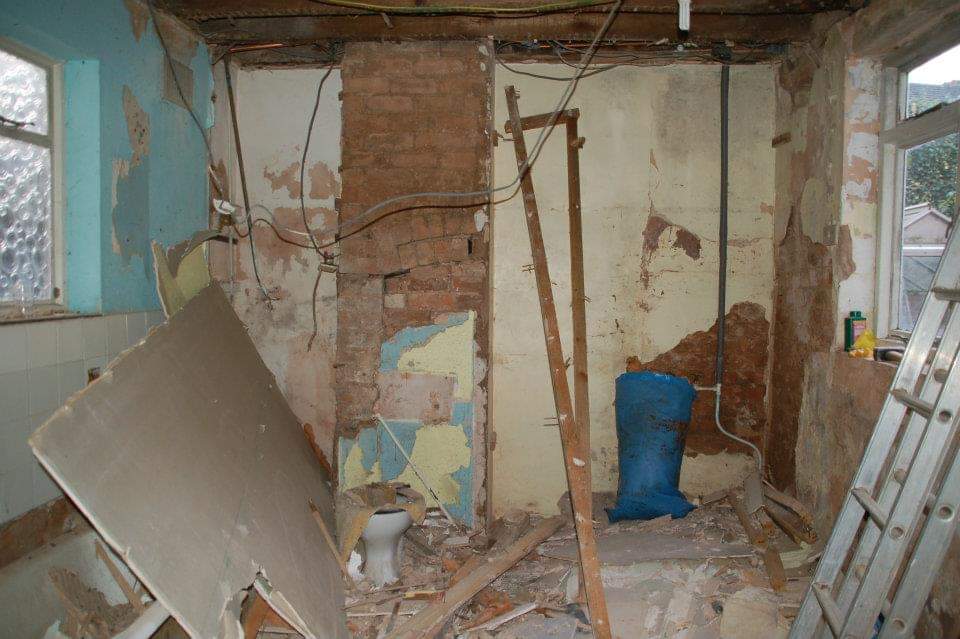
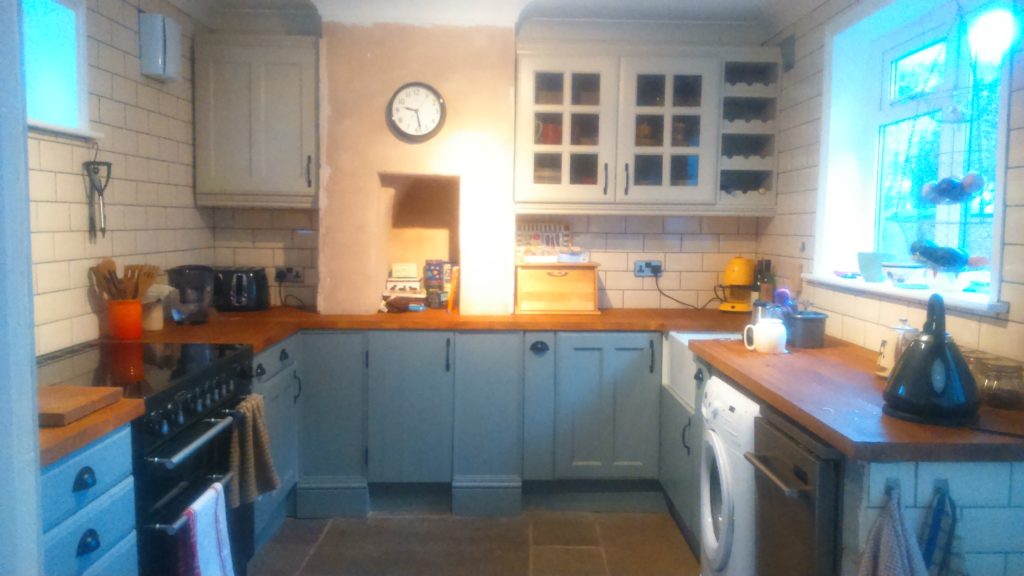
The advantage with buying solid wood doors is that you can ring the changes with a lick of paint. If you put a few dings and scratches into the doors you can smooth over your accidents by sanding and re-painting. It’s a strategy that has renewal and longevity built in.
Keep your DIY footprint light
If you have to pay more than you thought for salvaged and reclaimed, you can always bear these factors in mind:
- Old materials from salvage yards are often home-produced and more durable
- It’s easier to find materials in keeping with your house and area if you have an older house
- The resource footprint for old is much better than for new – good for the conscience?
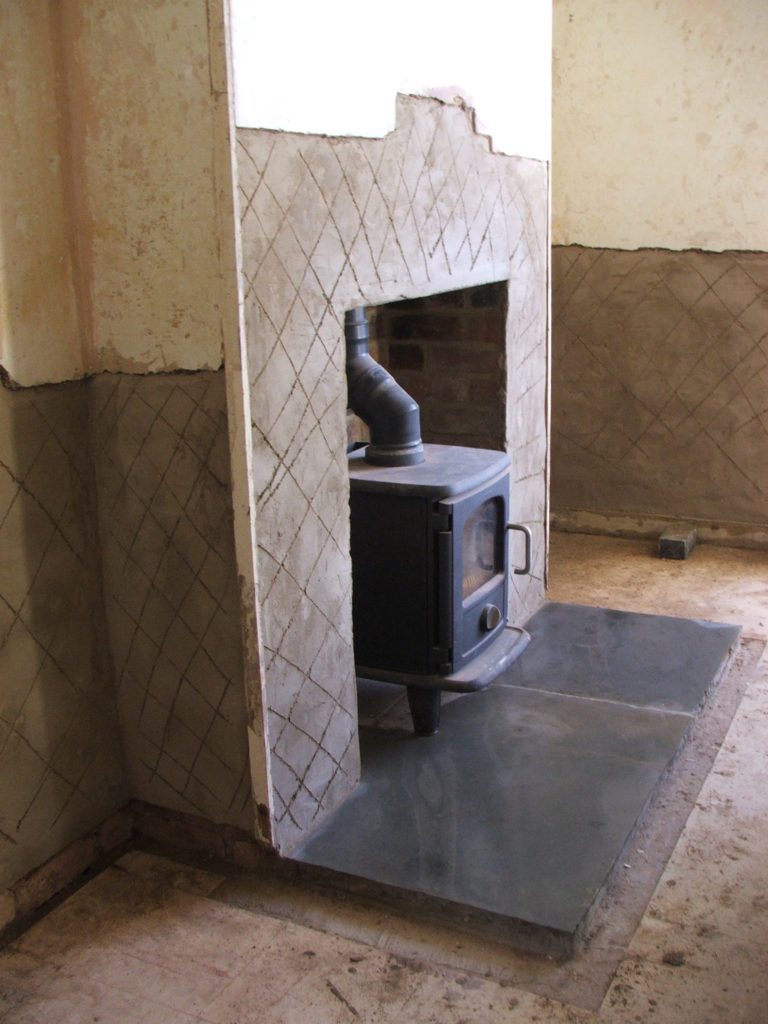
Our eBay finds include a second-hand woodburner, below:
Then we added a second-hand fire surround and papered with reasonably expensive wallpaper with the savings:
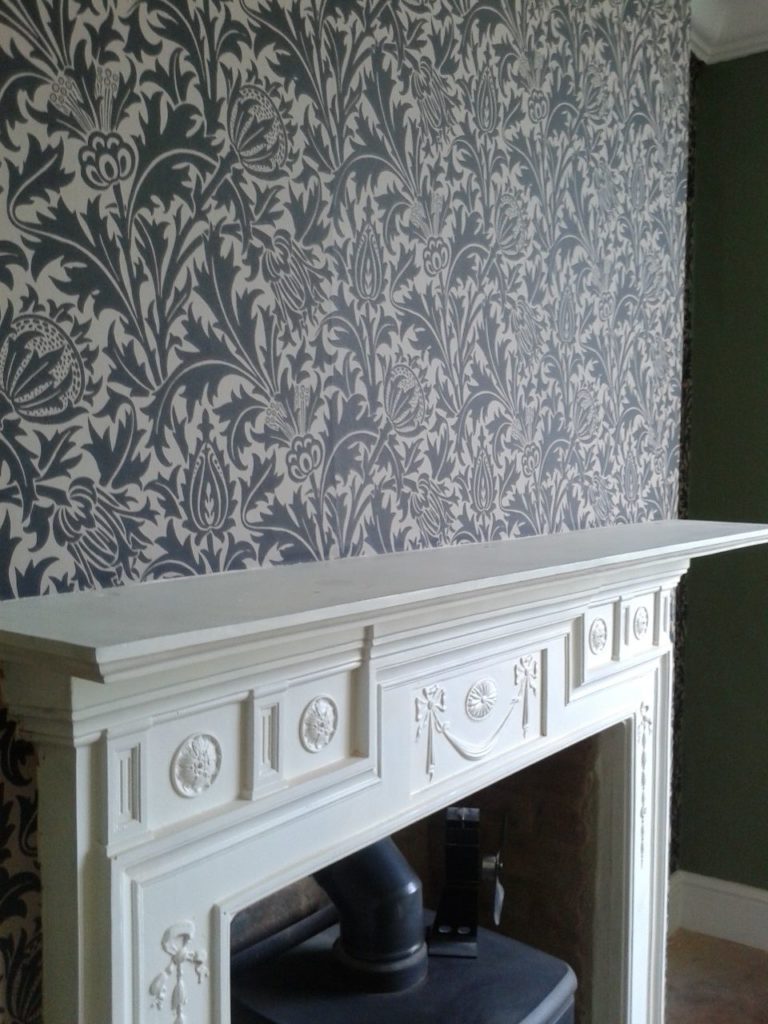
The cast iron woodburner and fire surround are durable and will last a lifetime.
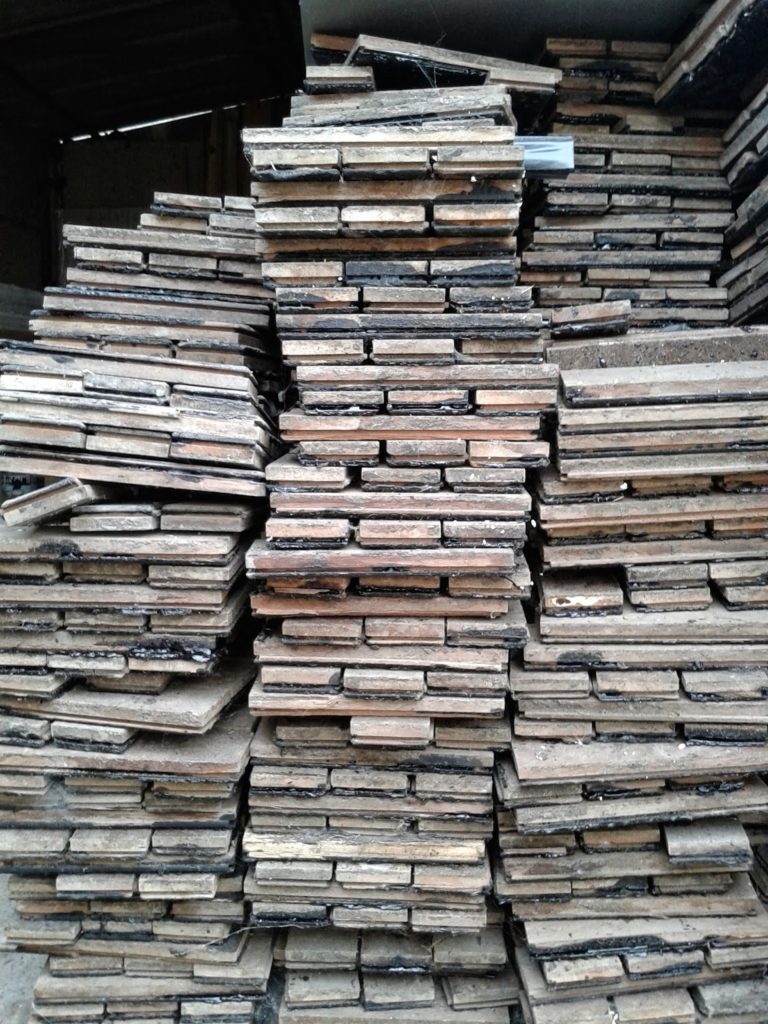
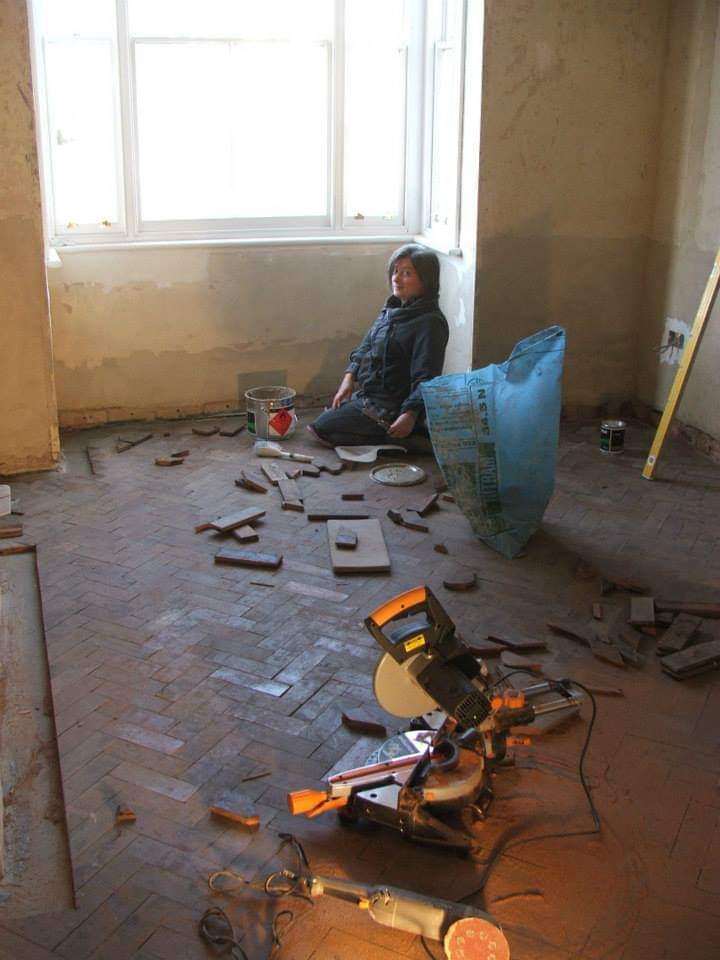
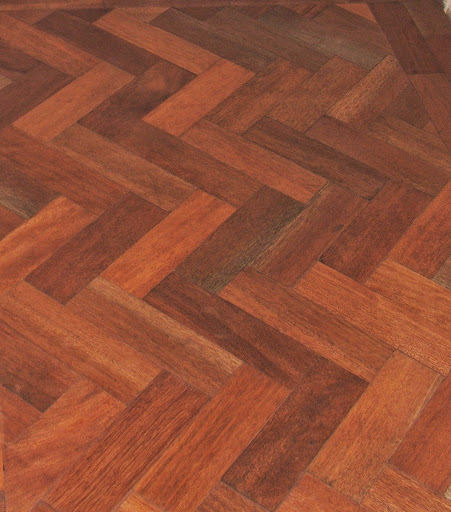
Then we set about the flooring. We really wanted parquet flooring, and happened to see some parquet blocks going on eBay. They were salvaged from a Welsh village school. So, here they are, over 2000 of them to cover the downstairs front and back room.
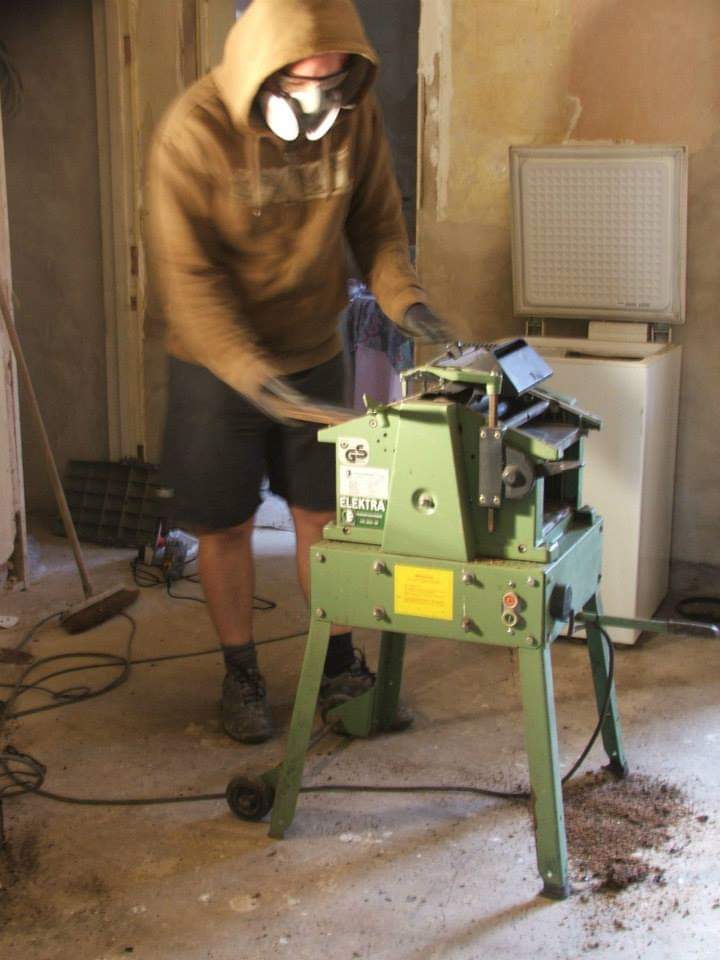
This was no small job, as the blocks came complete with original bitumen adhesive which had to be planed off (after freezing the blocks). All we can say is we love the floor, couldn’t afford to buy new parquet… but it took over our lives for a while.
Repair
Be mindful of what you rip out and throw away. Ask yourself, can something be repaired? Do you already have materials forgotten about at the back of your garage that you could use?
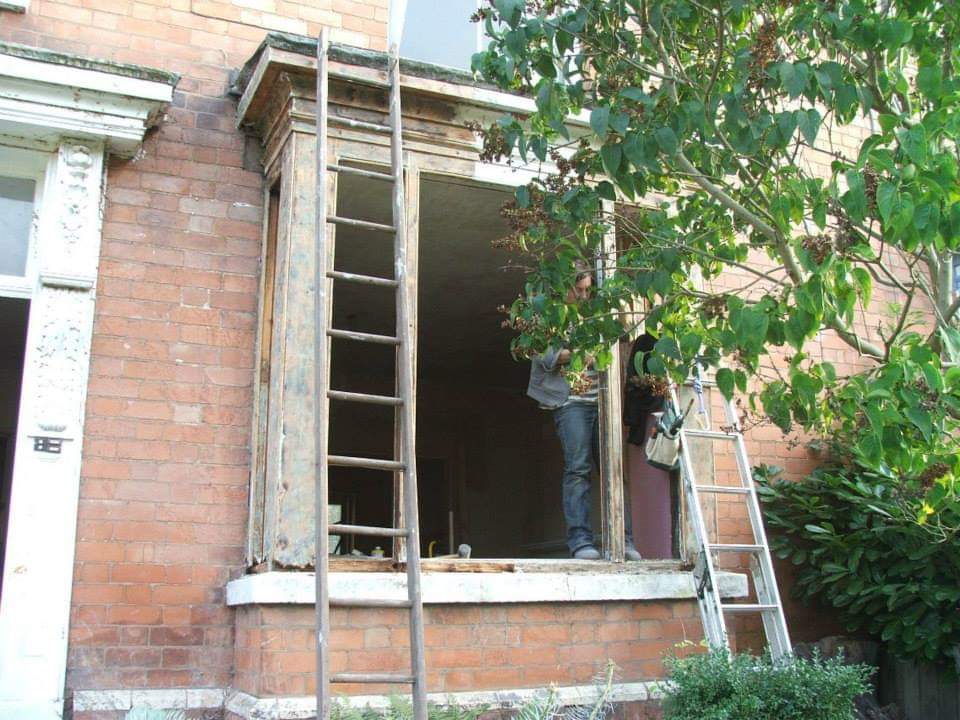
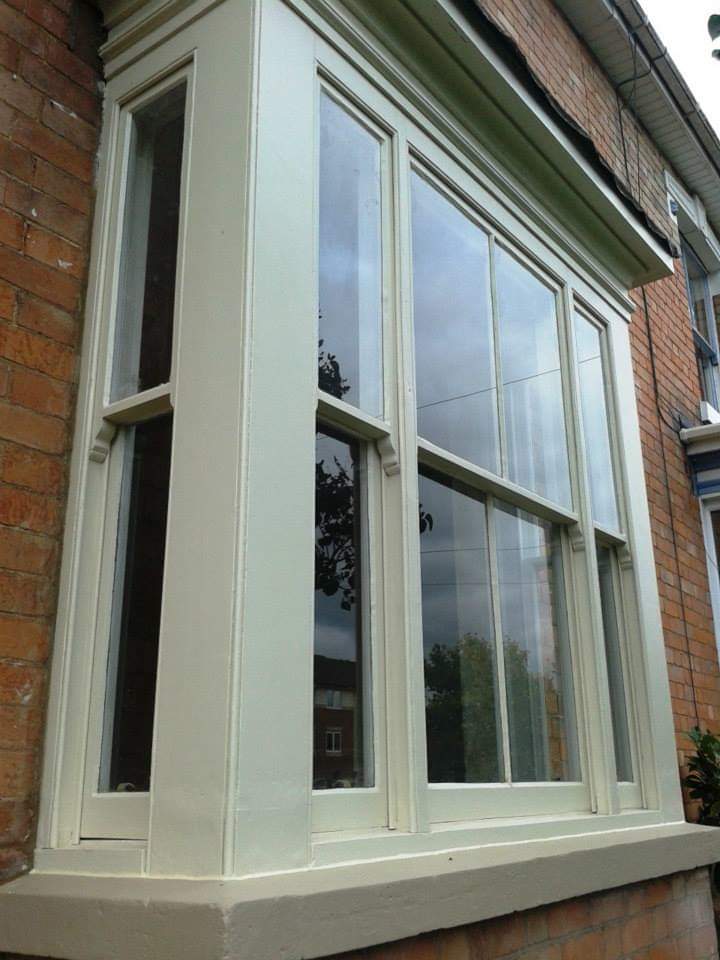
We repaired an original downstairs bay window, and have repaired sash windows upstairs. The lower part of the bay window was in a poor state, particularly the bottom rail. We had a new bottom rail tooled by a local carpenter, filled some holes ourselves, replaced cords and weights, then repainted. We probably saved around £2,000 to £3,000 (dated around 2013/14) for a like-for-like replacement.
I’d like to think that, with recent interest in repair shows on TV, and in mending workshops, there may be a mending culture revival on the way. It’s not only saving money that could be a incentive, but the thought of dwindling resources and avoiding the embedded carbon footprint of the brand new. After all, everything has to come from somewhere, so mending and repair helps the cradle-to-cradle cycle go round.
Learn new skills
If you do most of the work yourself you’ll need to learn new skills. Start with DIY manuals, learn from friends and family who have DIY knowledge. Local colleges often offer evening classes in the more difficult arts of carpentry, plastering, plumbing and brick laying. Use U-tube. There’s an astounding number of DIY videos from seasoned builders and trades people. You may need to consult building regulations too.
Share and hire tools, or buy them then sell when you no longer need them.
Get skilled up. These are all life skills worth knowing – and you’ll appreciate the results for years to come.

